How to Choose the Right Kettlebell Certification Course

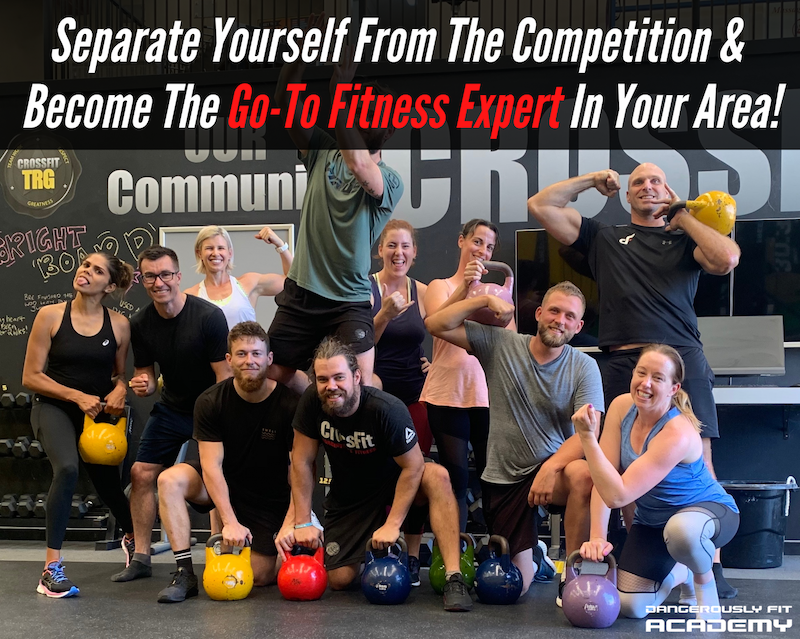
Kettlebells have gained immense popularity in recent years as a versatile and effective fitness tool. Whether you’re a fitness enthusiast or a professional trainer, a kettlebell certification can enhance your knowledge and skills in kettlebell training. However, with a plethora of options available, it’s crucial to choose the right certification course that aligns with your goals and provides quality education. In this comprehensive guide, we’ll walk you through the key factors to consider when selecting NZ kettlebell courses.

  1. Accreditation and Certification Authority:

Before diving into the specifics of a course, it’s vital to verify the credibility of the certification authority. Look for organizations that are recognized and respected in the fitness industry. Some well-known certifying bodies include the American Council on Exercise (ACE), the National Academy of Sports Medicine (NASM), and the Dangerously Fit Academy. These organizations are known for maintaining high standards of education and certification.

  1. Instructor Qualifications:

The qualifications of the course instructors are equally important. Ensure that the instructors are highly experienced and certified in kettlebell training. They should have a strong track record of success in the fitness industry. You can research their backgrounds, read reviews, and seek recommendations from trusted sources to gauge their expertise.

  1. Course Curriculum:

Review the course curriculum in detail. A good kettlebell certification course should cover a range of topics, including:

  • Kettlebell exercises and techniques
  • Anatomy and biomechanics related to kettlebell training
  • Safety guidelines and risk management
  • Program design and progression
  • Nutrition and recovery strategies
  • Client assessment and communication skills

The course should offer a well-rounded education that prepares you for real-world situations as a kettlebell trainer.

  1. Hands-On Training:

Practical experience is invaluable in kettlebell training. Choose a certification that includes hands-on training sessions. This allows you to practice your skills, receive feedback, and become comfortable with various kettlebell exercises and teaching methods.

  1. Online vs. In-Person Courses:

Consider your preferred learning style. Some certifications are available online, which offers flexibility and convenience. In-person courses, on the other hand, provide a more immersive experience. Choose the format that aligns with your needs and resources.

  1. Course Duration and Cost:

Assess the course duration and cost. Some certifications can be completed in a few days, while others may span several weeks or months. Balance your commitment with your budget and time constraints. Keep in mind that a more extensive and reputable course may be worth the investment.

  1. Continuing Education and Support:

Kettlebell training is a dynamic field, and it’s essential to stay updated with the latest developments. Look for certifications that offer ongoing support and opportunities for continuing education. This might include workshops, webinars, or access to a community of professionals.

  1. Reputation and Reviews:

Research the reputation of the certification course. Check for reviews and testimonials from previous participants. A course with a strong track record of producing successful trainers is a positive sign.

  1. Career Opportunities:

Consider how the certification will enhance your career. Some certifications have partnerships with gyms or fitness facilities, making it easier to find employment as a certified kettlebell trainer. Explore the potential job opportunities that come with the certification.

  1. Your Specific Goals:

Ultimately, the best certification course for you will depend on your unique goals. Are you looking to become a kettlebell trainer, improve your personal fitness, or enhance your skills as a fitness professional? Your objectives will help determine which certification aligns best with your aspirations.

Choosing the right kettlebell certification course is a pivotal decision in your fitness career. Take the time to research, assess your needs, and consider your long-term goals. A reputable certification will not only provide you with the knowledge and skills to excel in kettlebell training but also open doors to exciting career opportunities. Make an informed choice, and you’ll be well on your way to becoming a knowledgeable and confident kettlebell instructor.

Power Bag Carries

I really don’t do core exercises. No crunches, no planks; I know my abs could handle them but that just sounds too boring for me!

Sandbag strength training is an excellent workout. If you hold the weight correctly, it will work your entire body– from abs to core muscles around your torso and inside ribcage.

In this example with our “sandbags”, that thing becomes a “sandbag carry” today. Carrying something heavy works all parts of my body — everything from abs, back, and others in between!

Today, we’re doing a powerbag carry. A heavy-weighted object like this is great for using your whole body to lift and move something really important (or not). Depending on how you hold it, different muscles will get involved–for example: abs+back or nebulous “core” muscles around the sides of your torso.

The shoulder and Zercher carry needs to be prepped by getting the sandbag into your lap. You will then have it lifted up into position as if you had been carrying logs all day long, just like we discussed last week during our first workout of this challenge!

Dangerously Fit Powerbags also comes with an alternative mode of transport. That is, you can carry it like a suitcase (one hand on the handle, one by your side). You’ll feel lopsided and that’s what we want! Just make sure to do this for both sides equally.

Loaded carries provide real life functional gains for the everyday person. They are arguably one of the most useful and functional full body strength exercises that should be included in any training regimen.

These type of exercises were previously thought to be too primitive and unimportant to include in a training program, but now function is the new thing and is an essential part of any training plan due to their significance when it comes carrying objects in everyday life.

The primal loaded carry exercise is performed by holding a heavy weight such as sandbag with both arms extended straight out at shoulder height while you walk forward or laterally down a track or field dragging your feet along behind you so they never actually leave contact on the ground (it should look like someone running around with his/her hands tied). The dumbbell farmer’s walk is another type of variation where two weights hang from each end alternately lower than up;

Can Bulgarian bag training help you avoid Sore Muscles while Working Out?

Delayed onset muscle soreness is something you cannot really eliminate completely if you are working out hard and sincerely or kicking up your exercise intensity by a notch or two. The pain you experience with muscle soreness after a rigorous workout is not the same as that of cracked bones or torn ligament. Your Bulgarian bag trainer will show you how to avoid muscle soreness and manage pain 12 to 48 hours after a fitness workout.

The following steps shared by a renowned Bulgarian hydro bag trainer will help minimise the severity of delayed onset muscle soreness.

There is a reason why your instructor always asks you to perform warm up exercises before launching into a full-fledged Bulgarian hydro bag workout.

Warm up exercises help your body to warm up sufficiently and prevent stiffness, injuries and muscle soreness later on. 10 to 15 minutes of stretching exercises, skipping with a jumping rope or light free hand exercises are usually enough to prevent muscle soreness after workouts.

Cold and Hot Treatment
Alternating between cold and hot treatments can promote muscle recuperation and blood circulation. That is why, both doctors and personal trainers will ask you to apply ice packs on your sore muscles for 15 minutes and follow it up with heated pads for another 15 minutes and so on.

You can even alternate between cold and warm showers in your gym shower to find relief. All you require is a hydrotherapy shower head that can massage your body with its water jets. Such shower heads are pretty common nowadays, both in the public bathrooms of gyms as well as in homes.

Hydrotherapy of this kind loosens your tired and stiff muscles while improving circulation. Improved circulation allows nutrient and oxygen rich blood to reach your sore muscles quickly. This reduces your aches and pains significantly.

Bulgarian bag training can help you with your DOMs
Painkillers such as ibuprofen or over the counter low dose alternatives can help minimise your muscle aches and pains. If your pain becomes debilitating and too hard to handle, your fitness training may recommend an ibuprofen for you. But always consult a doctor if the pain does not subside even after taking pain medications.

A hearty post workout massage performed by a sports massage therapist or at least by a licensed masseuse may minimise your delayed onset muscle soreness by as much as 30 percent or even more. Your fitness training may ask your massage therapist to concentrate on your hamstrings and calves. You can get some awesome ideas: https://www.facebook.com/CrossfitUlladulla/

Sometimes, your massage therapist will also stretch your muscles to improve your flexibility. The effect of the massage may not be evident right then and there, but you will feel a whole lot better the next morning.

Your coach may also recommend alternating heavy duty, rigorous Bulgarian hydro bag workouts with low impact aerobic exercises for increasing blood flow and for reducing inflammation and pain. Another trick is to follow the RICE method or rest, ice, compression and elevation. Stretching in the shower or dipping in the Jacuzzi also works for many fitness enthusiasts.

We know how tough in can be to lose weight when you have to rely on boring, traditional, cardio workouts to get in shape.

Top Clubbell Training Mistakes

It’s an accepted fact in the fitness world that training with Clubbells is one of the best ways of developing your strength, endurance and flexibility. However, like all other exercise modules, Clubbell training too has its own technique and procedure exclusive to it. Following these correctly is essential to gaining all the benefits of regular Clubbell training and minimizing the risks of injury.

As a certified fitness trainer it is imperative for you to know all about the most common Clubbell workout mistakes and how to avoid them, visit https://www.clubbell.com.au to enrol in their clubbell certification.

Benefits Of Steel Club Training

You are Squatting Every Time!

Clubbell workouts require you to bend a lot in order to lift and swing the bell. One of the most common mistakes that can lead to backache is taking a squatting position every time you swing the Clubbell between your legs. Squats are done only when you are doing the goblet squat; which is a common Clubbell workout. In general, you should concentrate on hip hinging movement while moving the clubbell between your legs.

Hip hinging requires you to bend at the hips, move your butt slightly outward and keep the Clubbell close to your body. You should then thrust the hips forward, squeeze the butt muscles tightly and swing the Clubbell upward using its momentum. The are many benefits training with clubbells, trying to squat whilst doing a swing is not one of them!

You are Hinging the Hips Too Much
While hinging your hips is a fundamental move of several Clubbell workouts, you should never push the hips too far forward. Pushing your hips too far outward when swinging the Clubbell will force you to arch your back and this can lead to lower back pain.

Moreover, pushing the hips outward instead of upward will put more pressure on your shoulders and the neck region thereby making your entire back vulnerable to excessive strain.

You are Arching your Back
Fear of backache is a common factor that keeps many clients from signing up for fitness courses involving Clubbell training. However, backache is nothing but a result of poor form or poor technique; both of which can be easily rectified.

The basic rule Clubbells workout is to maintain a neutral spine i.e a straight spine every time you are swinging the ball upward or downward. So make sure that you do not follow the movement of the Clubbell with your eyes. If you do so, you will invariably look upward or downward and your head too will follow the same path; leading to a curved back. It is best to stare at a fixed point in front of you in line with your eyes.

You are Picking a Heavier Load
To make Clubbell training absolutely safe for first-time clients, always start with 2kg clubbell for women and a 4kg for men. This is the ideal weight that a normally healthy woman/man can lift without the risk of injury. Check out the CEC course for more info!

One of biggest mistake is to just walk in and pick up a heavy weight. This can be disastrous even for those who work out regularly as handling the Clubbell is difficult because of its unique shape. So if you are lifting a heavy load the wrong way, you have only to blame yourself for any injury or backache that is likely to follow.